As a busy mom, I always wanted to bake homemade bread. But it seemed too time-consuming. Then, I discovered the simplicity of sourdough baking and tried a sourdough sandwich loaf recipe. It’s easy to follow and results in a wonderfully soft and flavorful loaf.
Whether you’re a sourdough pro or new to baking, this recipe is for you. It makes fresh, tasty bread with little work. Its soft crumb and tangy taste are perfect for any sandwich.
Understanding the Basics of Sourdough Bread Making
Sourdough bread is a special treat, known for its natural fermentation. It doesn’t use commercial yeast like regular bread. Instead, it uses a fermented dough starter for its tangy taste and chewy texture. This method is becoming more popular for its health benefits and artisanal appeal.
What Makes Sourdough Different from Regular Bread
The main difference is the leavening agent. Regular bread uses store-bought yeast. But sourdough bread uses a natural fermentation process. This process involves a starter made from flour, water, and wild yeast and bacteria.
The starter is fed and cared for, letting the microorganisms grow. They produce carbon dioxide, making the dough rise.
The Role of Natural Fermentation
Natural fermentation gives sourdough its unique taste and boosts its nutrition. It breaks down starches and proteins, making nutrients easier to digest. It also lowers the bread’s glycemic index, good for blood sugar control.
Benefits of Making Sourdough at Home
- Improved Digestibility: The fermentation in sourdough makes gluten and nutrients easier to digest. This is great for those with gluten sensitivities.
- Longer Shelf Life: Sourdough bread stays fresh longer than store-bought loaves. This is due to the fermented dough’s natural preservatives.
- Control over Ingredients: Making sourdough at home lets you choose the ingredients. You can ensure a healthier, preservative-free loaf.
Starting to make sourdough bread can be a fun and tasty adventure. With time and effort, you can make a loaf that’s full of flavor and nutrients. It will make your baking at home even better.

Essential Ingredients for Your Sourdough Sandwich Loaf Recipe
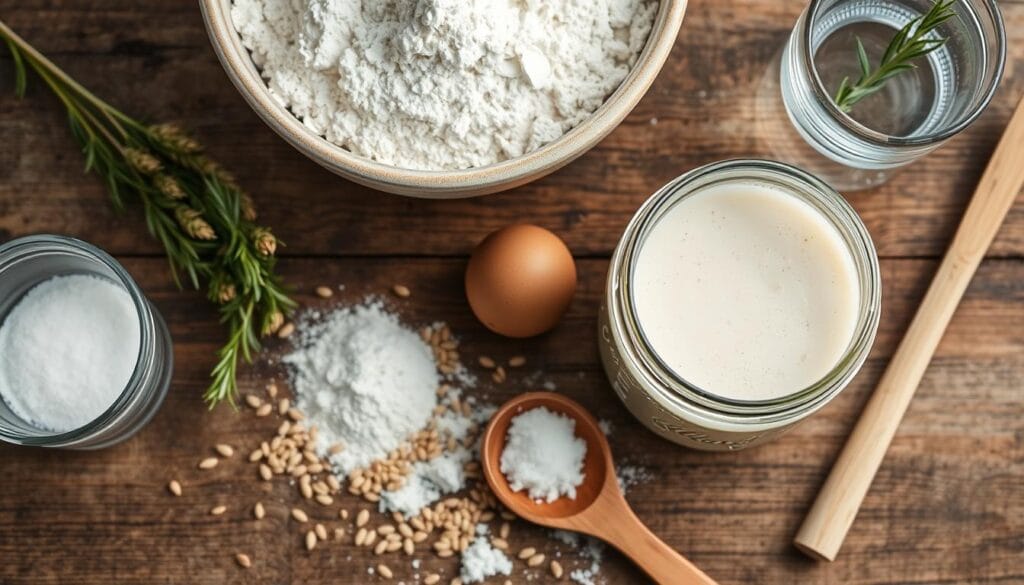
To make a tasty sourdough sandwich loaf, you need the right mix of ingredients. Your active sourdough starter is key, adding 300 grams. You’ll also need 650 grams of warm water, 1000 grams of white bread flour, 50 grams of honey, 40 grams of olive or avocado oil, and 20 grams of fine sea salt.
These ingredients help make a soft, yet strong sourdough sandwich loaf. It’s great for lunch or snacks. Remember, you can tweak the recipe to fit your starter, flour, and kitchen conditions for the best results.
| Ingredient | Amount |
|---|---|
| Active Sourdough Starter | 300g |
| Warm Water | 650g |
| Bread Flour | 1000g |
| Honey | 50g |
| Olive or Avocado Oil | 40g |
| Fine Sea Salt | 20g |
By using these key ingredients, you’ll make a yummy, homemade sourdough sandwich loaf. It will impress your family and friends.

Required Equipment and Tools for Success
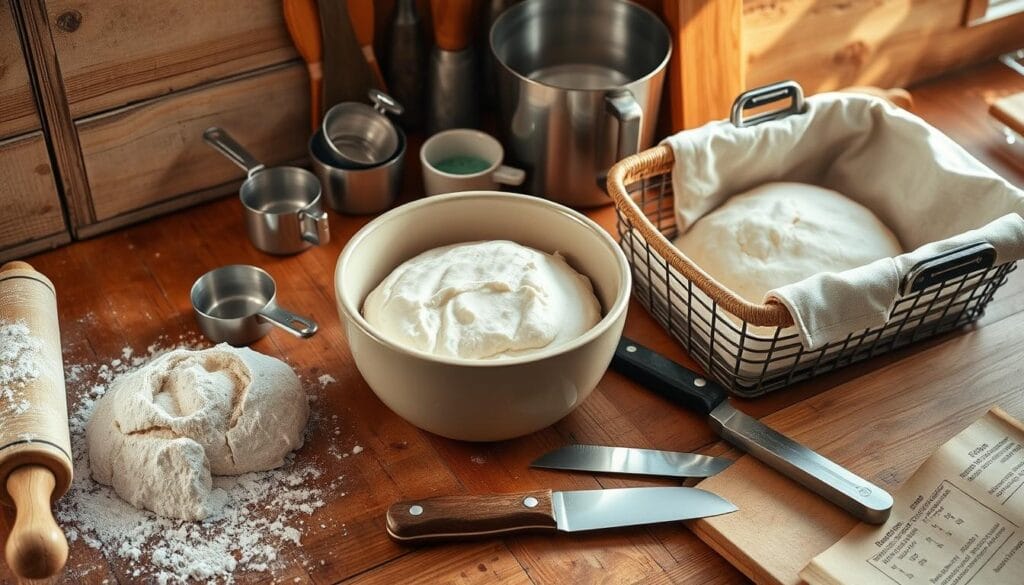
To bake a tasty sourdough sandwich loaf at home, you need some key tools. First, a 9″ x 5″ loaf pan is essential for the right shape. You can use a stand mixer for kneading, or knead by hand if you like.
You’ll also need a dough whisk or stiff spatula for mixing. A kitchen scale is vital for accurate ingredient measurements. The right mix of flour, water, and sourdough starter is key for great sourdough.
Stand Mixer vs Hand Kneading Options
A stand mixer can save time, but hand kneading is loved by many. Both ways can make great bread. Pick what works best for you and your tools.
Choosing the Right Loaf Pan
The loaf pan’s size affects your bread’s shape and texture. A 9″ x 5″ pan is perfect for a classic loaf. It ensures even baking and a nice shape.
Additional Baking Tools
- Danish dough whisk or stiff spatula for mixing and folding the dough
- Metal bench scraper for shaping and dividing the dough
- Parchment paper or silicone baking mat for lining the loaf pan
- Oven-safe thermometer to monitor the internal temperature of the bread
- Scoring lame or sharp knife for creating decorative slashes on the dough
With the right tools, you’ll make a delicious sourdough sandwich loaf. Your family and friends will love it.

Preparing Your Active Sourdough Starter
Making a tasty sourdough sandwich loaf starts with a lively sourdough starter. This mix of flour and water is the base of your bread. It gives your bread its special yeast and flavors.
To get your sourdough starter ready, just follow these easy steps:
- In a clean container, mix 2 teaspoons (10g) of mature sourdough starter, 3 tablespoons (25g) of all-purpose flour, and 5 teaspoons (25g) of water.
- Stir until it’s all mixed up, then cover it. Let it rise at room temperature (68-72°F/20-22°C) for about 12 hours. It should double in size.
- For a faster start, use a 1:1:1 ratio of sourdough starter, water, and flour.
Your active bread starter is now ready. It will be the heart of your sourdough sandwich loaf. It brings the natural fermentation and special flavors that make sourdough unique. Now, you can start the next steps in making your bread.

Step-by-Step Mixing and Kneading Process
Making a perfect sourdough sandwich loaf begins with mixing and kneading the dough. You can use a stand mixer or your hands. Learning this step is crucial for the right crumb and texture.
Initial Dough Formation
Start by mixing your sourdough starter, warm water, bread flour, and a bit of salt in a big bowl. Use a spoon or your hands to mix until it’s shaggy. Let it rest for about an hour. This lets the flour soak up the water and the gluten to start forming.
Proper Kneading Techniques
Once rested, knead the dough. If using a stand mixer, use the dough hook and knead on low for 8-10 minutes. For hand kneading, put the dough on a floured surface. Use your heel to push it away, then fold it back. The dough should be smooth and pass the windowpane test.
The Windowpane Test
- To do the windowpane test, take a small dough piece and stretch it between your fingers.
- If it’s thin and clear without tearing, it’s ready. If it tears, keep kneading.
With the dough mixed and kneaded right, you’re set for a great sourdough sandwich loaf. Now, it’s time for bulk fermentation. This is when the dough gets its complex flavors and structure.
Mastering the Bulk Fermentation Stage
The bulk fermentation stage is key in making sourdough bread. It lets the dough get its unique taste and texture. After kneading, let the dough rest and rise for 10-12 hours at 68-72°F (20-22°C). It should double in size.
This bread fermentation time is vital. It builds gluten strength and improves your bulk rise loaf’s quality.
The bulk fermentation time can change with your kitchen’s temperature. Cooler places need longer, warmer ones shorter. Watch your dough closely and adjust the time as needed. Aim for the best flavor and gluten structure.
| Measurement | Value |
|---|---|
| Total Dough Weight | 1,800 grams |
| Pre-fermented Flour | 6.4% |
| Levain Percentage in Final Dough | 17.1% |
| Hydration | 85.0% |
| Yield | Two 900g loaves |
Mastering the bulk rise stage helps make a tasty and textured sourdough sandwich loaf. Be patient and let the dough fully develop during this important time.
Shaping Your Sourdough Sandwich Loaf
Making the perfect sourdough sandwich loaf is an art. It needs precision and care. Shaping is key to a beautiful, uniform bread and a great texture.
Rolling and Forming Techniques
Start by putting the dough on a floured surface. Press it into a rectangle without deflating it. Fold the sides to the center, making a neat log.
Then, roll the dough from the far end towards you. Seal the seam as you roll. This keeps the dough’s shape and tension for an even rise.
Creating the Perfect Loaf Shape
Now, shape the dough into a log. Put it in a greased and parchment-lined 9″ x 5″ loaf pan. Place it seam-side down for a smooth surface.
Cover the pan and let it rise for 2-3 hours. It should be about 1 inch above the pan rim. This final rise is key for the perfect loaf shape.
Mastering bread shaping and sandwich loaf formation is crucial. It will help you bake a sourdough loaf that looks great and tastes amazing.
Baking Temperature and Timing Guidelines
It’s key to getting the perfect bake for your homemade sourdough sandwich loaf. Follow the right temperature and timing to get a beautiful golden crust and a soft crumb.
Preheat your oven to 450°F (232°C). This high heat helps the bread rise and get a crisp crust. After placing the loaf inside, reduce the oven to 375°F (190°C). This lower heat cooks the bread perfectly.
Bake the sourdough sandwich loaf for 45 to 50 minutes. It should turn a deep golden brown. To keep it moist, spray the loaf with water before baking. Also, add ice cubes to the oven floor for steam.
Let the loaf cool in the pan for 10 to 15 minutes before moving it to a wire rack. This helps the bread firm up and sets the interior.
| Baking Statistic | Recommended Value |
|---|---|
| Preheated Oven Temperature | 450°F (232°C) |
| Baking Temperature | 375°F (190°C) |
| Baking Time | 45-50 minutes |
| Internal Temperature Target | 200°F (93°C) |
You’ll make a tasty, artisanal sourdough sandwich loaf by following these bread baking and sourdough baking tips. It will impress your family and friends.
Storage and Shelf Life Tips
Keeping your homemade sourdough sandwich loaf fresh is key. Follow these easy tips to enjoy your bread for days.
Let your sourdough loaf cool down completely. Then, store it in a bread bag, beeswax wrap, or a clean towel. This keeps it soft and chewy for up to 5 days.
To store it longer, slice the bread and freeze the slices in a bag or container. Frozen slices can be toasted quickly for breakfast or snacks. They stay fresh for up to 3 months in the freezer.
Always let your sourdough loaf cool before storing. This stops moisture buildup that can spoil it early. With these bread storage and sourdough shelf life tips, your sourdough will stay delicious for a long time.
| Storage Method | Shelf Life |
|---|---|
| Room Temperature (Bread Bag or Towel) | Up to 5 Days |
| Frozen (Sliced and Airtight) | Up to 3 Months |
| Refrigerator | Up to 2 Weeks |
Conclusion
Making your own homemade sourdough sandwich bread is a fun journey. It gives you a delicious, healthy loaf. With practice, you’ll get better at making homemade sourdough bread.
This recipe is great for both new and experienced bakers. It has the right mix of flavor, texture, and simplicity. It’s perfect for anyone wanting to improve their artisan bread skills.
If you love sourdough’s unique taste or want a healthier bread, this recipe is for you. It’s easy to follow and helps you make amazing sourdough sandwiches at home.
Enjoy the journey of making sourdough bread. Try new things and feel happy when you eat your fresh bread. This recipe will help you make homemade sourdough bread that everyone will love.
FAQ
What makes sourdough bread different from regular bread?
Sourdough bread is special because it ferments naturally. It uses wild yeast and bacteria. This makes it taste tangy and feel better in your mouth than regular bread.
What are the benefits of making sourdough bread at home?
Making sourdough at home is great. It’s easier to digest and lasts longer. You can also pick what goes into it. This makes it taste better and be healthier than store-bought bread.
What are the key ingredients in this sourdough sandwich loaf recipe?
The main ingredients are active sourdough starter, water, olive oil, honey, flour, and sea salt. These mix together to make a soft but strong sandwich loaf.
What tools and equipment are needed to make this sourdough bread?
You’ll need a 9″ x 5″ loaf pan, a stand mixer, and a dough whisk or spatula. A kitchen scale is key for exact measurements. A Danish dough whisk and metal bench scraper help with mixing and shaping.
How do I prepare the sourdough starter for this recipe?
Start by mixing sourdough starter, flour, and water. Let it rise at room temperature until it doubles. This usually takes 12 hours before you mix the dough.
How do I properly knead the dough for this sourdough bread?
Knead the dough for 8-10 minutes. Use a stand mixer on low speed or knead by hand. The dough should be smooth and elastic. Do the windowpane test to check if it’s ready.
How long should I let the dough bulk ferment?
Let the dough rise for 10-12 hours at room temperature. It should double in size. This step helps flavors develop and gluten strengthen. Adjust the time based on your kitchen’s temperature.
How do I shape the dough for the loaf pan?
Turn the dough onto a floured surface and shape it into a rectangle. Fold the sides in, then roll it into a log. Pinch the seams and place it seam-side down in a greased loaf pan.
What are the baking temperature and timing guidelines?
Preheat the oven to 450°F, then lower it to 375°F when you put the loaf in. Bake for 45-50 minutes until it’s golden. Spray the loaf with water and add ice cubes for extra moisture and crust.
How should I store the baked sourdough sandwich loaf?
Store the bread in a bread bag, beeswax wrap, or towel at room temperature for a few days. Slice and freeze for longer storage. Make sure it’s cool before wrapping to avoid moisture. Frozen slices can be toasted straight from the freezer.

